My Alexa Skills Environment
I first became interested in the Alexa Skills Kit when I got a strip of LED lights for Christmas. Python is my go to language so I used the Flask-Ask framework on a Raspberry Pi to make them change colors, flash, etc. with my voice. The code was very basic, and the networking with ngrok was messy. The endpoint domain had to be changed in the skill’s configuration every time ngrok was stopped or my Raspberry Pi restarted.
My first year of college, I made a skill with Flask-Ask that parsed RIT’s News and Events Daily page for upcoming events and sports games. Again, I used ngrok because I wasn’t aware of a better alternative. I could have paid $60/year for a static ngrok subdomain, but an application that may never be used by another person was not worth that as a college student on a budget.
Over the summer, I learned more about networking from my internship and homelab. I finally understand the concept of reverse proxies and was able to set one up for my lab. With Cloud9 now on AWS and AWS Education credits, I moved my code from a Raspberry Pi to an EC2 nano instance. After developing my latest skill, a client for r/ExplainLikeImFive, I feel as though I have a solid yet simple setup to develop Alexa skills using the Flask-Ask framework.
The Server
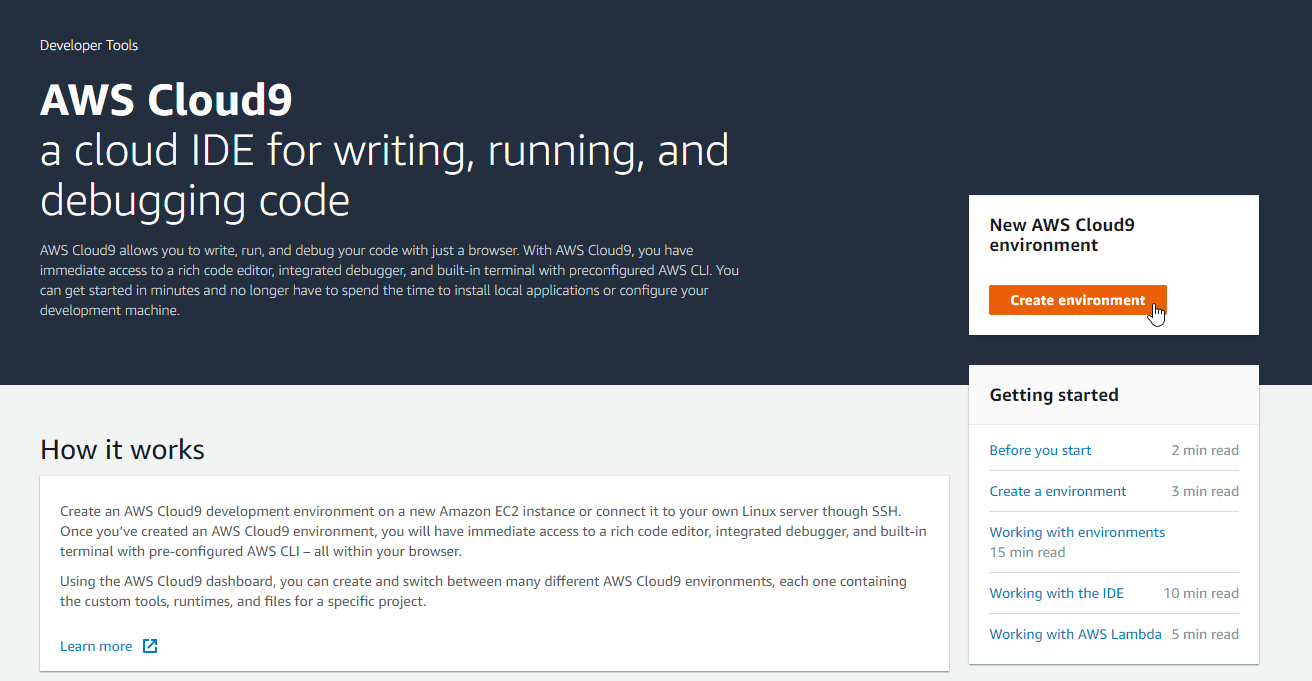
With an overwhelming amount of AWS Educate credit, I wanted to test out Cloud9 on AWS. It’s very simple to configure a new environment and get coding. To lower costs, I set the instance to turn off after 30 minutes of inactivity while developing. Now that it is certified and published, I set it to never turn off.

Other IAM users can be invited to the environment to read and write or just read, allowing for review and development by a group. Another great thing about Cloud9 is the ability to attach to an existing server through SSH keys. If you already have code on another AWS instance or server, you can interface with it through Cloud9 in your browser.
In your security groups for the server, add 443 (HTTPS) so that the skill can communicate with Amazon’s servers. The port your Flask server runs on does not need to be opened because it will never directly communicate with the internet.
Do NOT turn off SSH, even if you’re using Cloud9. Trust me, it breaks things.
The Code
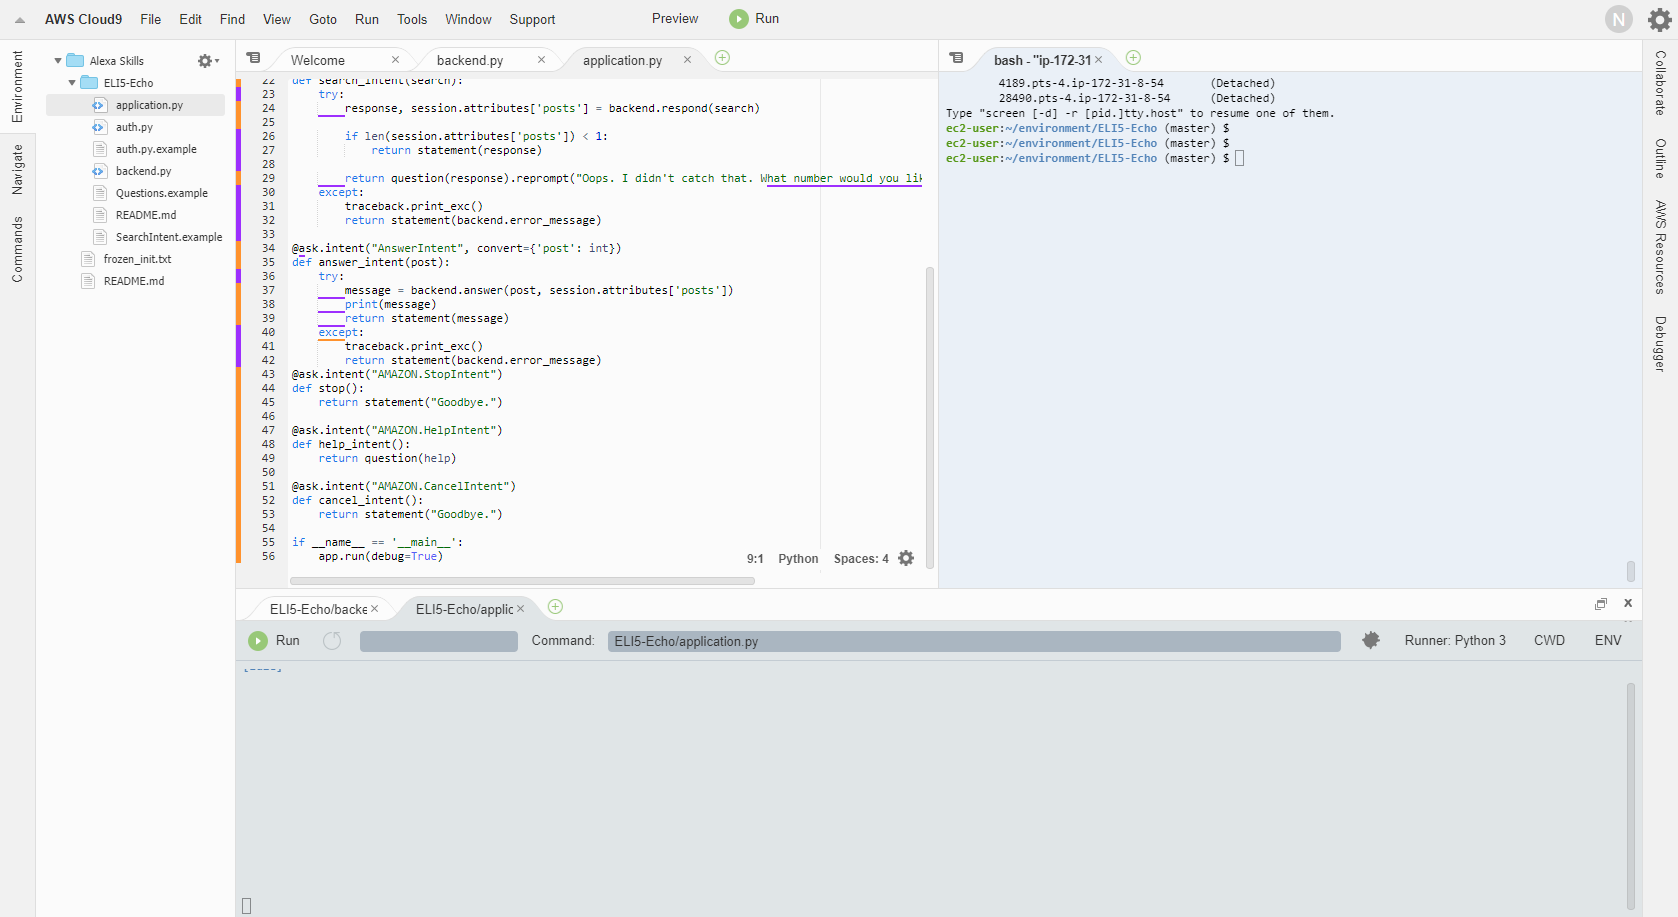
Almost all of my skills have a front end and back end. The front end interfaces with Amazon and runs the Flask-Ask server. This is where intents are specified just like in the Memory Game example skill. I don’t use a YAML template and instead use strings with statement(), question(), or simple_card() to do the interaction. This is mostly due to the variance in responses with my ELI5 skill. Each intent calls a function to do the heavy lifting in the back end. The functions usually return a simple string for the front end to return as the response or in some cases, information to be saved in session.attributes[saved] for a later response.
The code is run inside a terminal using screen so that no Cloud9 windows needs to remain open. Flask automatically detects a change in any file it uses and updates so the process never needs to be restarted manually.

The Networking
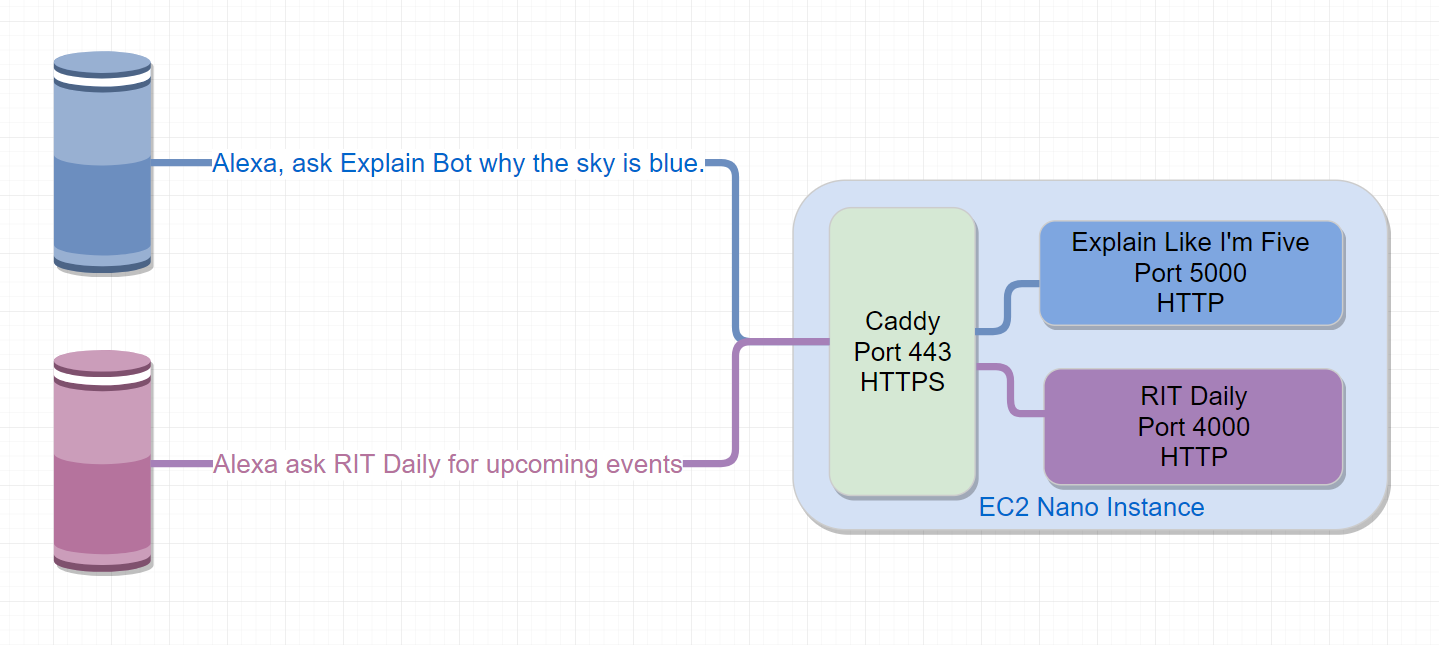
The big problem with creating skills with Flask-Ask is that Amazon requires the endpoint communicate over HTTPS which requires a certificate and a capable web server. Flask can’t handle either of these things easily so it’s usually put in front of Apache, NGINX, or another complete web server. If multiple skills are running on the same server, they both need to share port 443 (HTTPS) and therefore need to be proxied in some way.
NGINX reverse proxy configurations never worked out for me, especially when trying to set up certificates in front of Flask. Caddy automatically creates and configures a Let’s Encrypt certificate for your domain. The single configuration file named Caddyfile also makes it extremely easy to get up and running as a simple proxy.
myskill01.example.com {
	proxy / localhost:5000
}
My skill domains are currently subdomains using DuckDNS so that they can update dynamically if an EC2 IP changes for some reason.
After the Caddyfile has been configured, just run caddy in the same directory as the file. On the first run it will set up a Let’s Encrypt certificate by verifying the DNS configuration and asking for an email address. Now, when a request for myskill01.example.com comes in over HTTPS on port 443, it will get the information from the Flask server on port 5000 over HTTP and then transport it back to the Echo device over HTTPS.

For the Future
After finals week, I want to set up Caddy and my Flask services to run on boot. Running commands with screen or tmux still require a manual start after the machine has booted. Running as services means there is no interaction to get them started if the server needs to be rebooted and they are easier to manage than a command in screen.
Currently, only my ELI5 skill is running since the RIT skill needs to be updated to work. I’m excited to get it running again so I can have multiple skills on one instance.
I’d like to write a more technical tutorial using this environment from start to finish with an example skill so that it’s easier to see how all of the parts interact.
